Composting in an Urban Environment
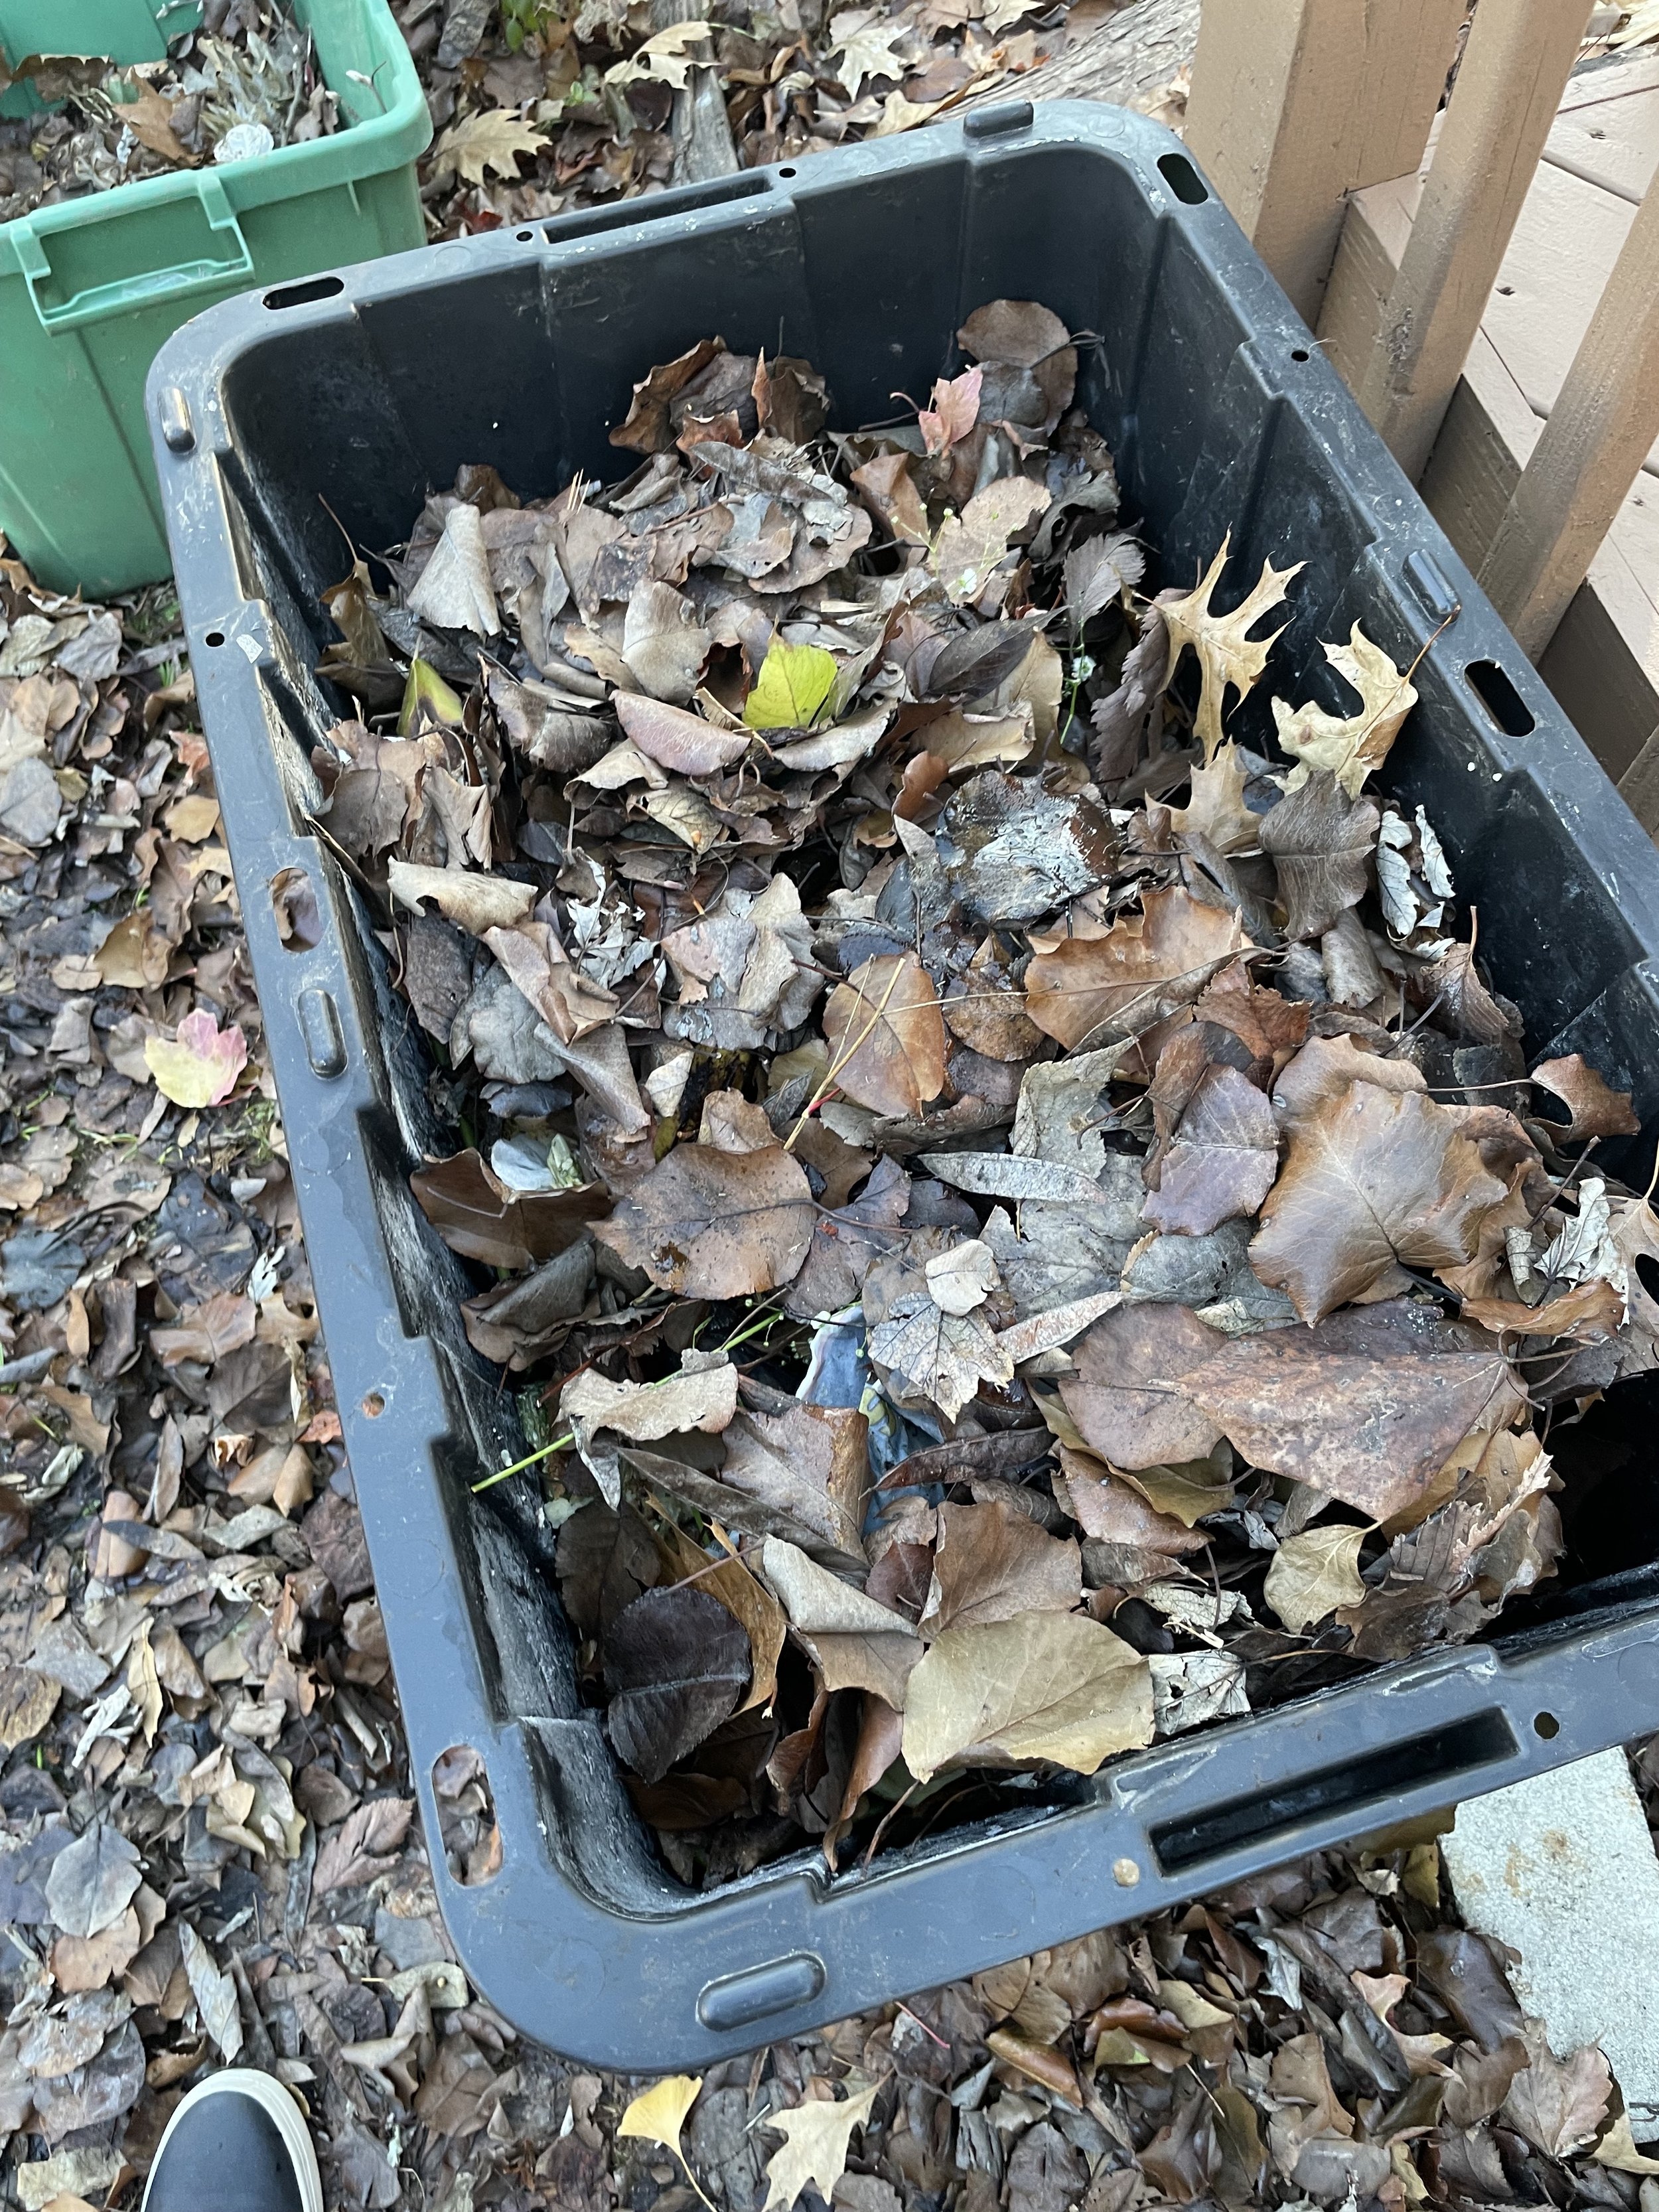
Dry leaves added: Ready to cover!
This might not be the kind of recipe you were looking for…but occasionally, I’ll post about projects here, too. You probably know that food waste and food scraps in the landfill are causing environmental harm. If you don’t, read more about it here. Even if you’ve done a lot to eliminate food waste in your household, by thinking through portion sizes, planning meals and using leftovers, there will always be food scraps, right? When we lived in California, the regulations for waste haulers made disposing of your food scraps easy: into the green bin- even bones and meat scraps! But after moving to St. Louis, where there are widespread pickups for green waste but not for food scraps, I had to think things through a little more. I have used the methods for garden composting that Ruth Stout recommends and had great results, but we weren’t ready to set up a lot of gardens around our house yet. And, two concerns: I was afraid we might have more scraps than I needed for that slow compost method, plus I wasn’t sure how our HOA would feel about the “hay and banana peel” style in their new neighbors landscaping. I thought about the big compost pile my dad had behind our house as a kid, but remembered the rodent problem he had out there and thought maybe my neighbors wouldn’t appreciate that, either. So, I did some research and found some great advice from a government site in Oregon. After refining the system a bit, I think I’ve found a great composting system for even the smallest urban household!
I keep my bins a short walk from the kitchen door!
Here’s what you need:
Two (or more) covered storage bins. I used the black/yellow ones you can get at home depot- they are economical, come in a lot of sizes, have really tightly closing lids and are sturdy enough for this purpose.
A drill with a large bit
Inside compost storage: we keep a bucket under the sink and a pan on the countertop. You can only save vegetable scraps, peels and eggshells: our system doesn’t get hot enough to compost meat or bones. Don’t forget greasy paper towels, tea bags and pizza boxes- those are all good!
Dry matter: keep a bag or bin of dry leaves near your bins to add to your mix as needed.
Key to the system: Occasional WATER. Sometimes you luck out and occasional precipitation falls into your bins, but keeping things moist will keep the compost happening.
Drill holes all over the bottom and the lids of your bins.
Add dry matter and your scraps in layers, using a trowel or hand rake to turn the compost as needed. Close the lid tightly to prevent animal attraction and invasion.
When one bin is full, put it aside and start the second bin. Keeping the bins in a warmer place will help the process. In winter, if you can’t bring your “non-active” bin inside to a garage or basement, maybe try close to the foundation, or near the dryer vent. Since the process slows down when it’s cold, you may need more than two bins to get through the winter unless you can keep things warmer.
In the summer, I was amazed; within about 2 weeks my full bin had cooked down to about a quarter size! And it was a lovely, warm, rich compost. I also had some vermiculture happening in there, but I wasn’t focused on that, so sometimes the heat and now the cold wiped out the worm community. But I appreciated their work and was happy to make them a home while it lasted!
Because the process was kind enough to make me some more room, I simply continue to switch out bins and layer more on top. When spring comes, I’ll be ready to use my compost for quick starts in my vegetable garden, around landscaping beds and places where grass is patchy. I might even have some compost to share!
This is an ongoing project, so watch for updates in new blogs, and feel free to contact me with your questions!


